To access blank products and the Designer, click on the “PRODUCTS” link in the menu of the Branding store:

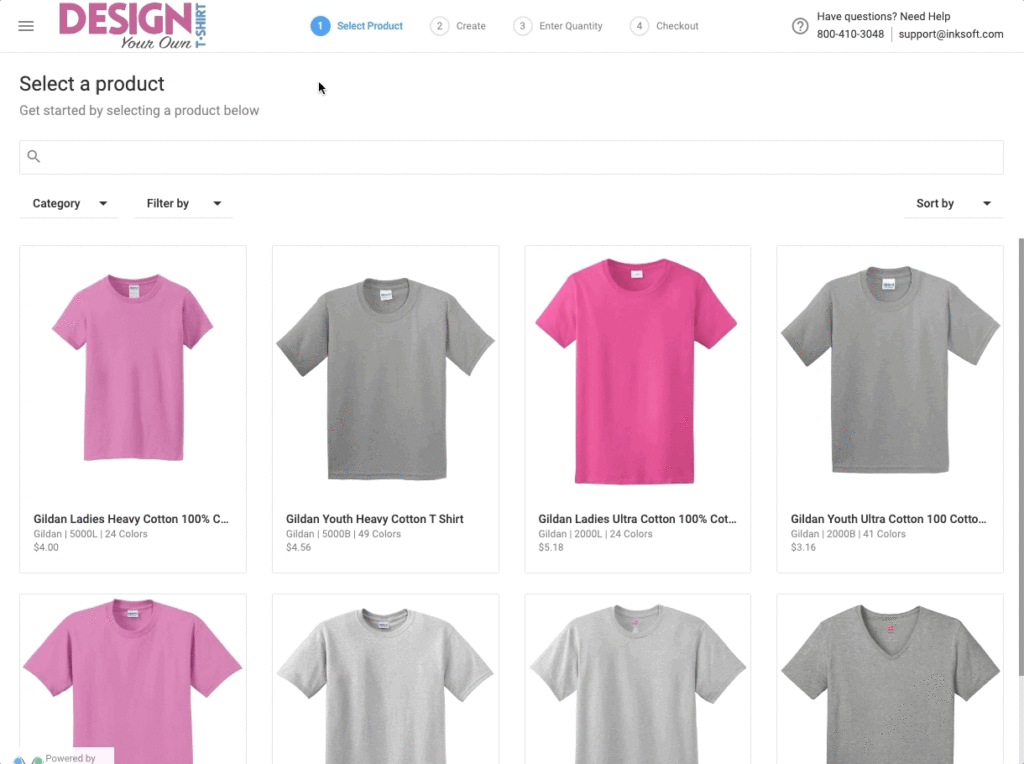
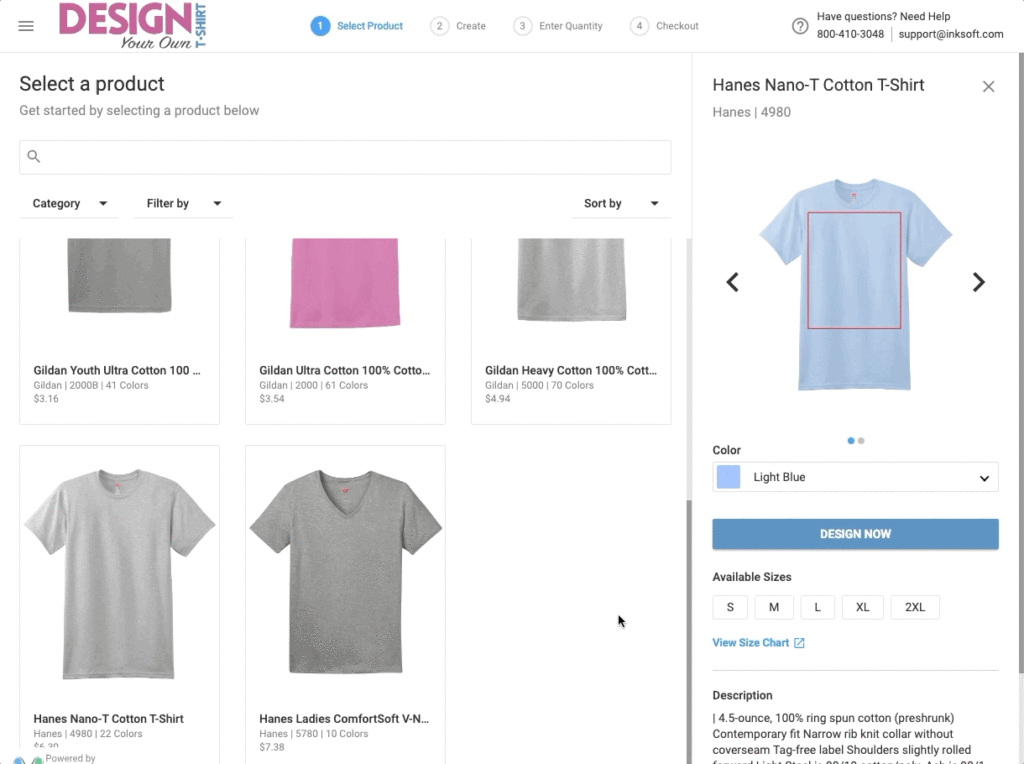
Step 1: Select Product
Once you have chosen the product and product color to start decorating on, you will click on DESIGN NOW to go to the next step, “Create”. This will take you into the Designer itself.
Step 2: Create
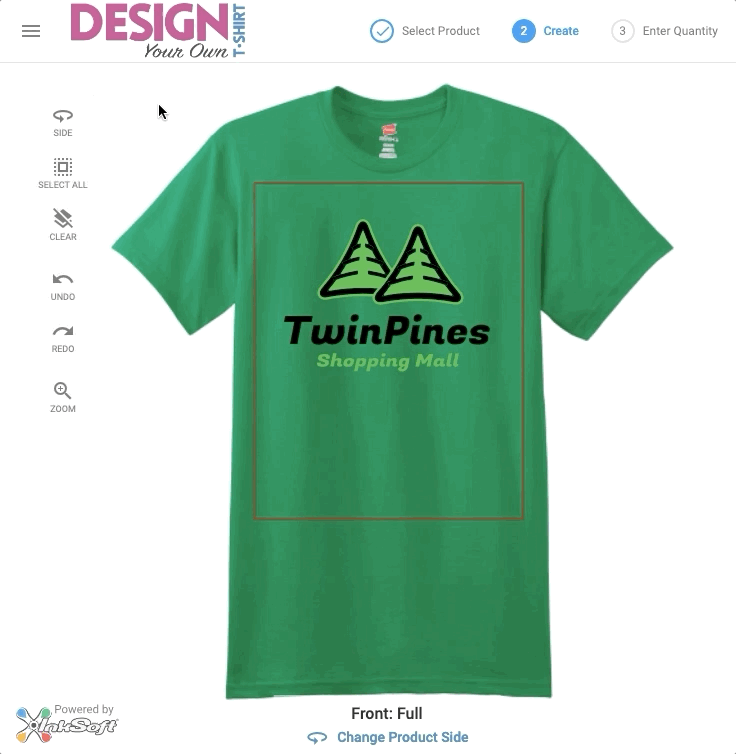
Now you can begin decorating the product! To select which side of the product and which design area on that side you want to decorate on, you can click on the “Change Product Side” link directly below the product image:
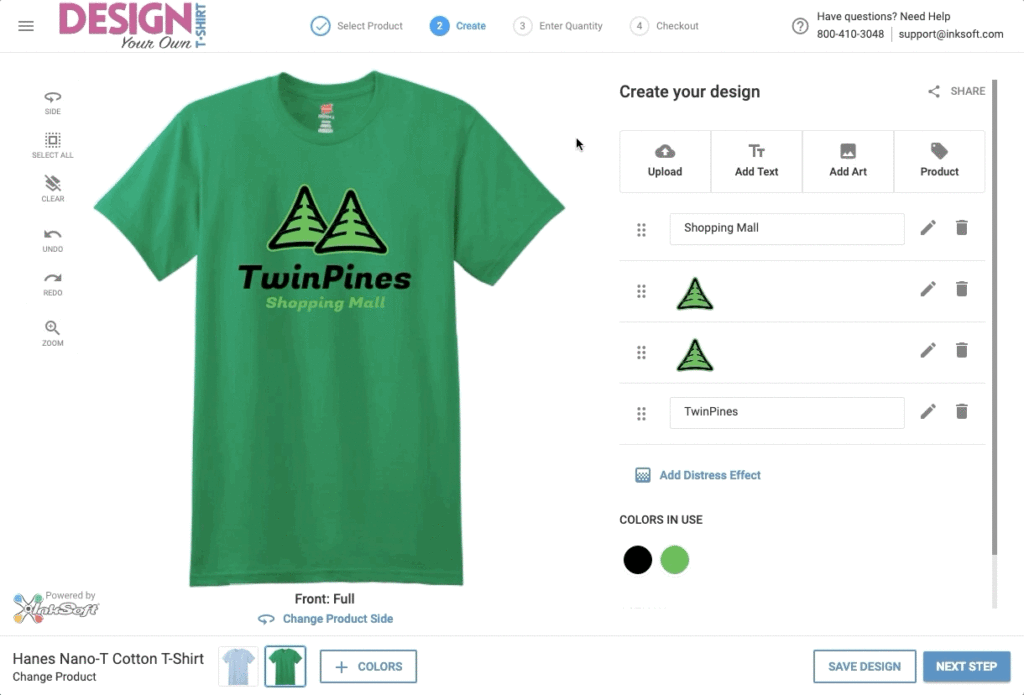
f you want to change the product color or add additional colors to their product, you can make your selections at the bottom of the page:
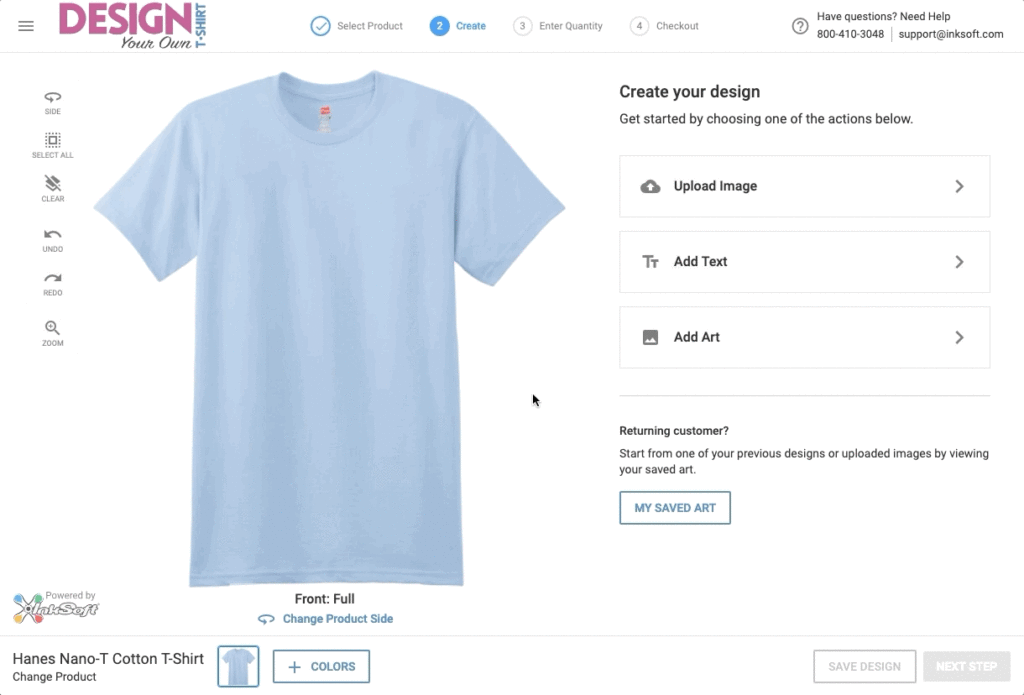
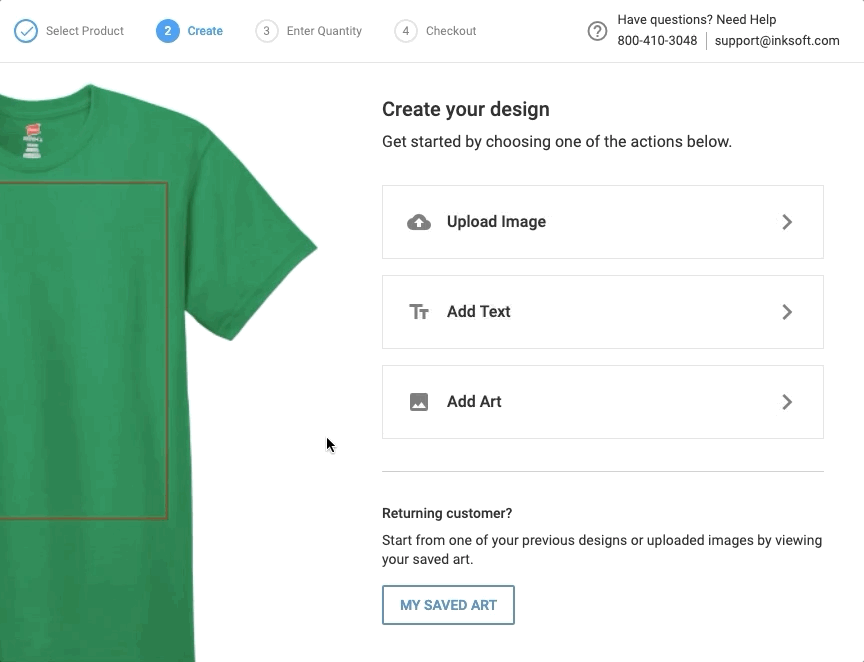
Next, the you can navigate to the Create your design area. You can begin decorating your product by choosing from these 3 options:
- Upload Image – You can upload a custom image or design.
- Add Text – You can add text to your product with the built-in Text function.
- Add Art – You can add artwork from the built-in Art Libraries. You can also choose from an existing design you have previously saved.
If you choose “Add Art”, then you will be able to browse from:
- Design Ideas – Multi-layered design templates from the Art Library.
- Clip Art – Individual art layers from the Art Library that can be added to Design Ideas, Text, or custom artwork.
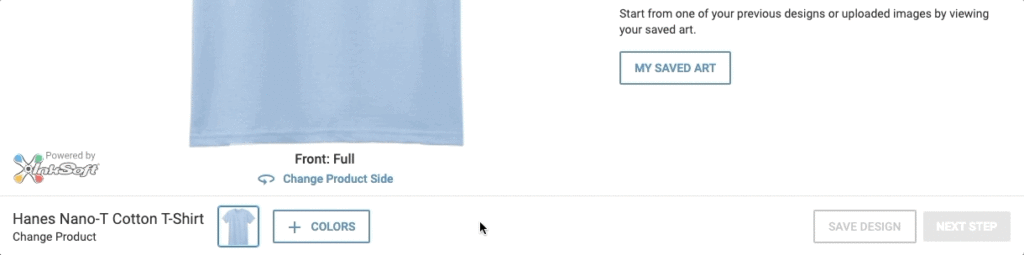
- My Saved Art – If you are signed in with a User Account and you have previously created and saved your designs, you can choose from those as well.
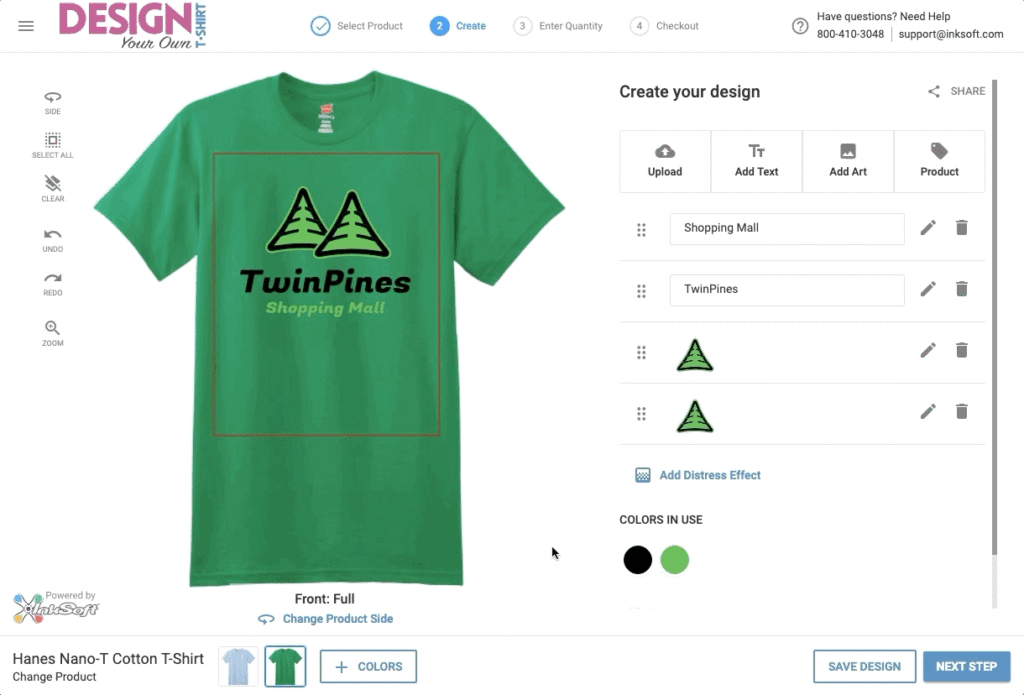
You will have some additional tools available on the left when designing:
- Select All – Selects all current art and text.
- Clear – Clears all current art and text.
- Undo
- Redo
- Zoom – Allows you to zoom in to the design area for a closer view.
Once you are happy with your design, you can choose to Share the design. You can also Save the design for later use. This will prompt you to sign in with a User Account, or register a new User Account if you don’t already have one. You can then name your design and save it:
Step 3: Enter Quantity
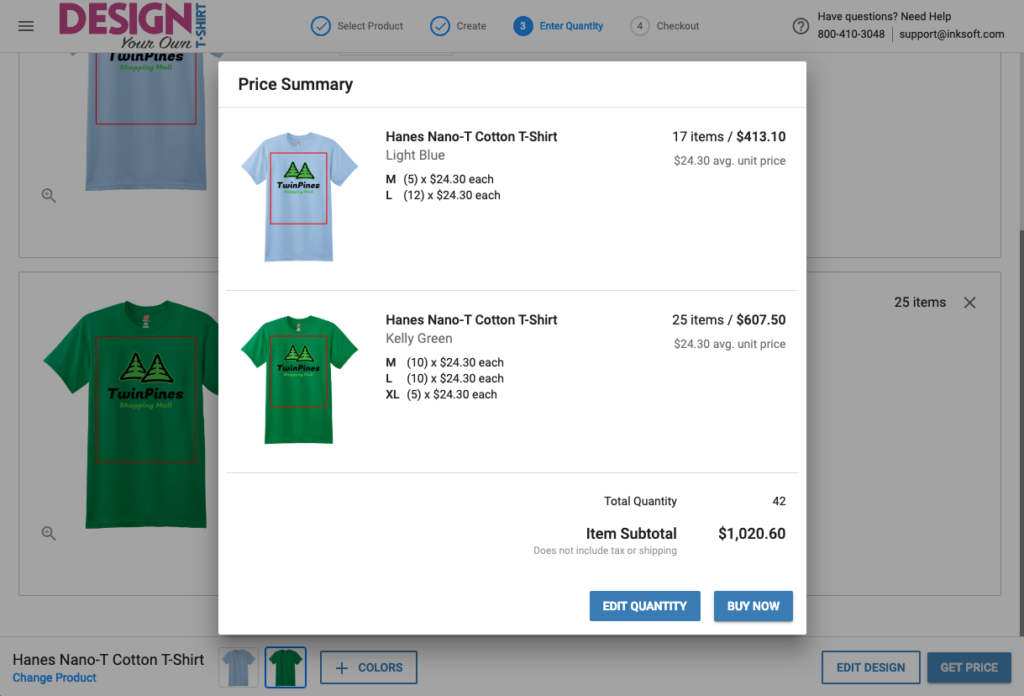
If you decide to proceed with your decorated product, you will click on the “NEXT STEP” button in the bottom-right corner. You will then be required to enter the quantities you want for the chosen colors of the decorated product. When finished, you will click on “GET PRICE”:
The next screen will show you a Price Summary for your decorated product and quantities. This is a way for you to see a quoted price immediately after decoration. You can then choose to edit the quantities, or Buy Now if you wish to purchase:
Step 4: Checkout
You will be asked to name and save your design again (or name and save it for the first time if you have not saved the design previously). You can then click on “ADD TO CART” to add those items to your shopping cart and continue to the next step.
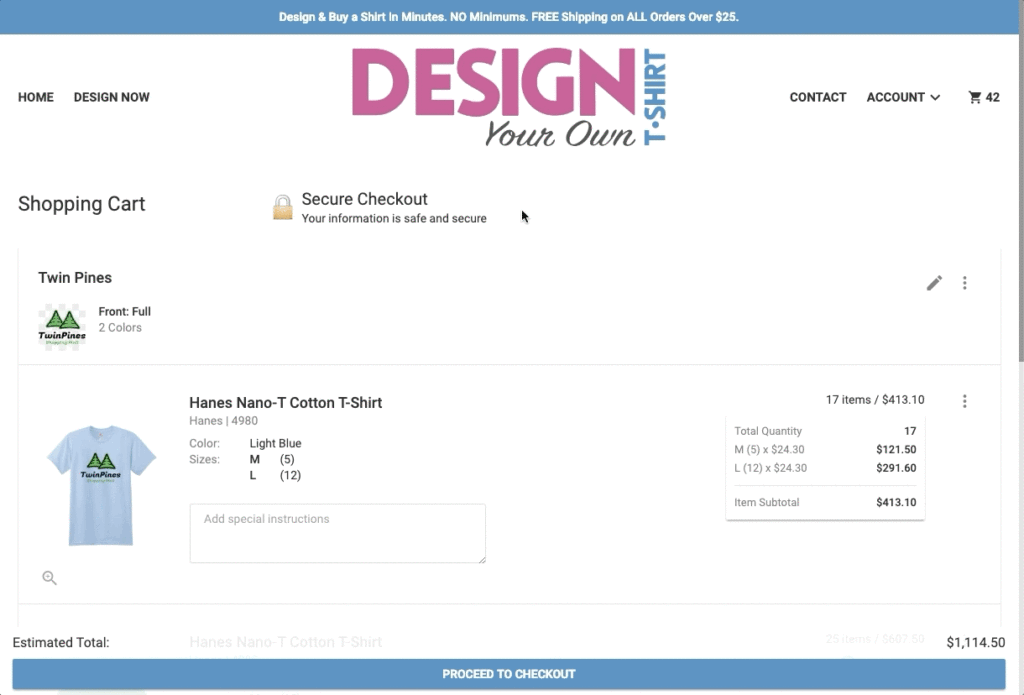
The next screen will show that the items have been added to your cart, and you can View Cart or Continue Shopping. If you want to add more items to your cart, you can click Continue Shopping. This will take you to the home page of the store.
If you choose to View Cart, then you will be able to review your Shopping Cart and all the items. When you are ready, you can click PROCEED TO CHECKOUT and continue placing your order. The Designer experience is now complete!
Note: You can also click on the Store Logo to get to the store’s home page.